Bill’s *Trick* for using OneNote Like Evernote to GTD
In my previous review of OneNote I mentioned that Evernote’s canvas was superior to OneNote because I could just insert objects (pictures mostly) and the canvas would make space for the object. I discovered last week, that OneNote does the same thing … as long as you do not get carried away. This post is a four step tutorial on how to make a OneNote page, behave.
Step 1: Create the page
From a GTD perspective, it is SO EASY to create a OneNote “Project” page, and start new projects from there, I’ve become pretty GTD-addicted to creating pages from m project list. Start with a blank project list like this:
Then type in the project name beginning with [[ and ending with ]]:
When you enter the 2nd ] your linked project page will be created and will look like this:
Step 2: Go to the project page
Go to the project page and click at the end of the project name so your cursor thinks you are going to modify the end of the project name:
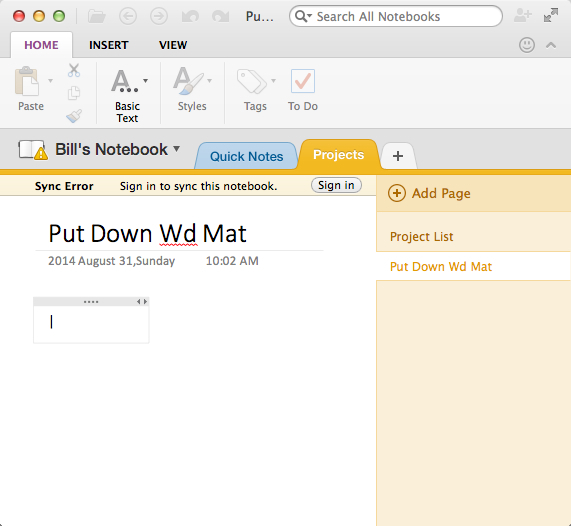
The trick is to hit *enter* at this point. Cursor will jump down below the title of the project, and will wait for you to type something. Should look like this:
Step 3: Type Something
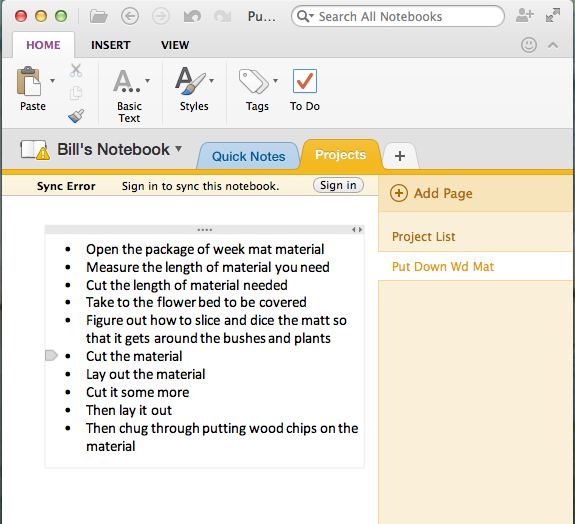
Type something like a Next Action (or my Next Action post), the text box will resize automatically. Or, you can drag the text box to be as wide as you want. Will look something like this:
Step 4: Stay inside the text box
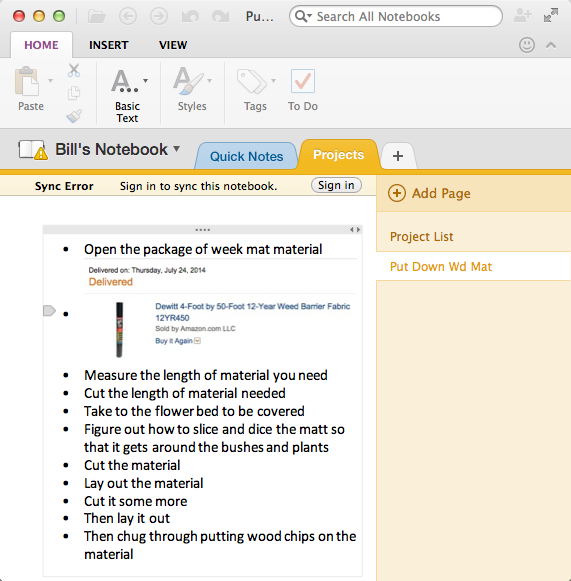
Now all you have to do to have an Evernote-like OneNote, is to NEVER ENTER ANY DATA OUTSIDE THE TEXT BOX. For example, maybe you want to put a picture of the weed mat after one of the next actions. Just create a new line in the list, and then drag the picture to the new line.
Summary:
If you use a text box inside OneNote notes, you can make the OneNote canvas behave just like Evernote’s canvas. New insertions add their own new rows, and you don’t have to use one note’s “add space” tool.
bill


Pingback: Tunnel Vision | RestartGTD
Pingback: Getting Started with GETTING THINGS DONE - 2014 - in 27 steps | RestartGTD